
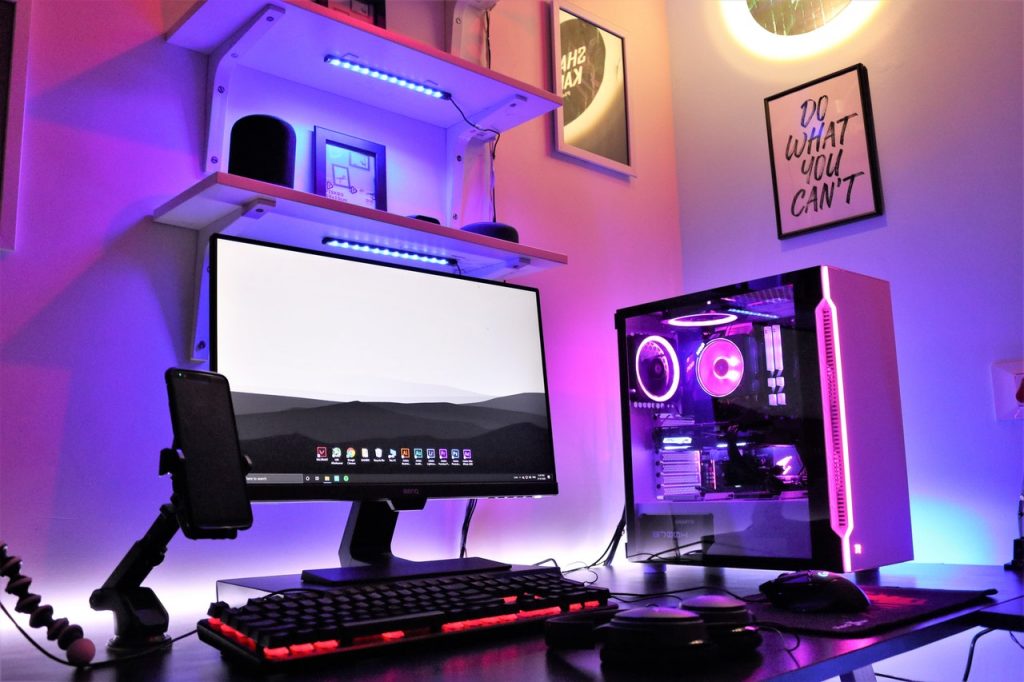
Building a gaming PC has it’s own advantages if and only if you know how to build it right the first time. You don’t want to end up being frustrated if your needs don’t meet the requirements.
Should You Build A Gaming PC Or Go Prebuilt?
It really comes down to the pros and cons of either building a PC or go for the prebuild gaming. However, building a PC definitely saves money. The main advantage of a prebuilt gaming PC is that it saves time but you have to pay extra money.
Questions To Ask Before Building Your PC
There are 2 most important questions to consider before building your own PC
1. What are your needs?
2. How much will you spend on it?
There are a few things you need to consider. First, you need to ensure you understand your own needs in relation to the components you can afford to buy. After reading this section, you’ll know whether building a gaming PC is right for you (it almost certainly is) or if you should go with a prebuilt machine instead.
Generally, we can divide PC in three levels to understand clearly. Three are three levels of PC in terms of build.
- Low End PC typically costs in the range of $200 to $500
- Mid End PC typically costs in the range of $500 to $800
- High End PC mostly costs in the range of $800 to $1000+
7 Components to Build a Gaming PC
Imagine a body without organs! ………………Can’t imagine right? In this section, the components which might also refer to as the heart, brain, structure, bones & muscles of PC are needed to build a PC.
You need the following 7 components in every case to build a gaming or any PC.
1) Processor (CPU)
2) Motherboard (MOBO)
3) Graphic Card (GPU)
4) Memory (RAM)
5) Storage (SSD or HDD)
6) PC Case
7) Power Supply Unit (PSU)
Processor (CPU)
Starting with brain of a PC. Yes, you heard it. Central Processing Unit is referred to as the brain of the computer. It is one of the most important component.
The Processor computes basic or complex instructions and perform tasks on the basis of those instruction just like a human brain.

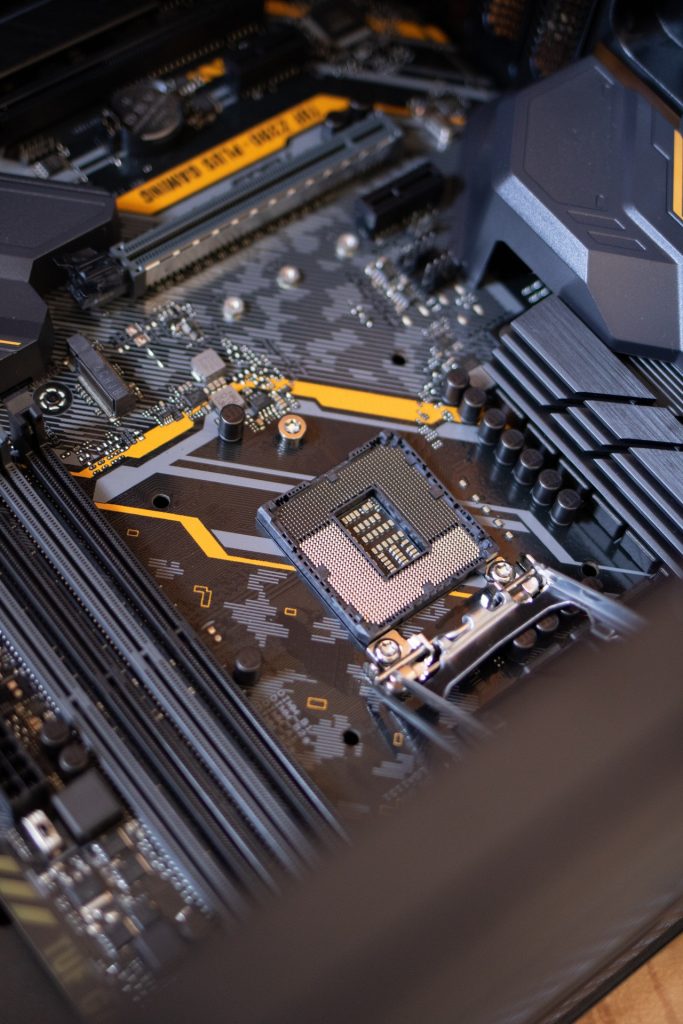
Motherboard (MOBO)
Motherboard, you may refer it to as the heart of a PC. It is a circuit board on which every other components plug into. Just like the heart, it comes in different sizes and compatibilities. Every motherboard isn’t compatible to every components.
The greater the clock speed and other features, better the performance.
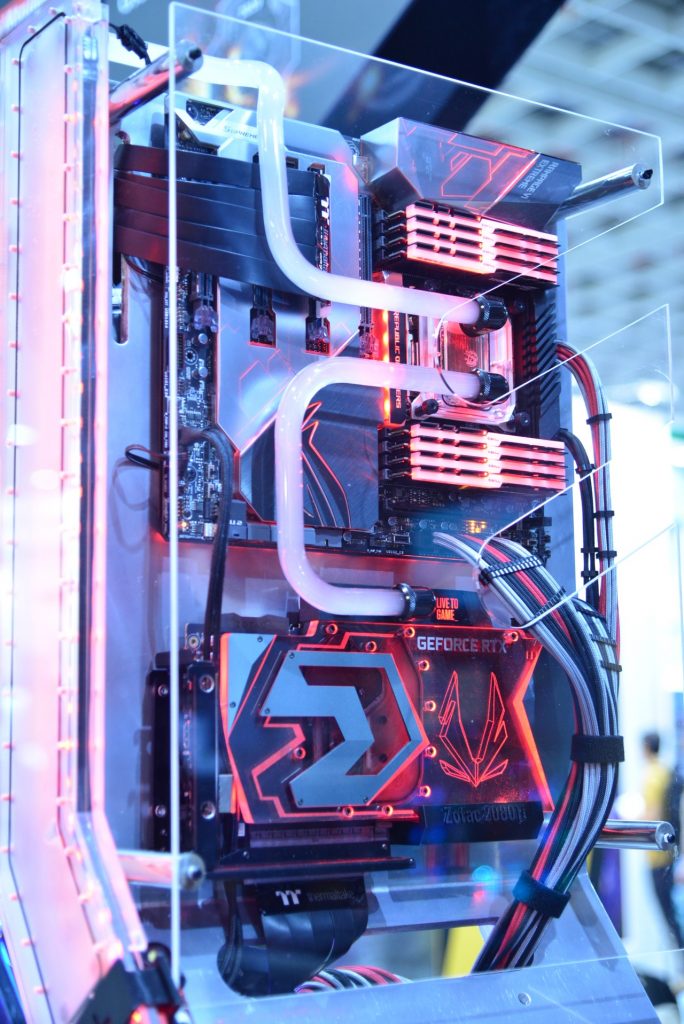
Graphic Card (GPU)
There is another Graphics Unit in a PC other than central processing unit, which is referred to as Graphics Card. It is for handling visual data on the PC. Visual data in gaming & video editing etc. increases which tends to increase more computing & processing.
Therefore, this is where Graphics Card comes in handy. It’s one of the most expensive component in PC.
Memory (RAM)
Generally, the first thing that comes in mind when saying Memory is to remember. This is exactly what memory is in PC. It stores temporary caches, files, tasks, and instructions of the programs running on a PC.
The more the random access memory (RAM), better the CPU (central processing unit) performance to compute instructions. It comes in different variants starting from 1GB to more than 128GB.

Storage (SSD or HDD)
Storage is where all the programs and everything on the PC needs to be saved. SDD and HDD are the two storage technologies often used when it comes to storing data. SSD uses no moving parts and the information is stored in microchips while HDD uses spinning disks to read/write data.
SSD is faster and expensive as compared to HDD but it really depends on the personal preference of which to use.

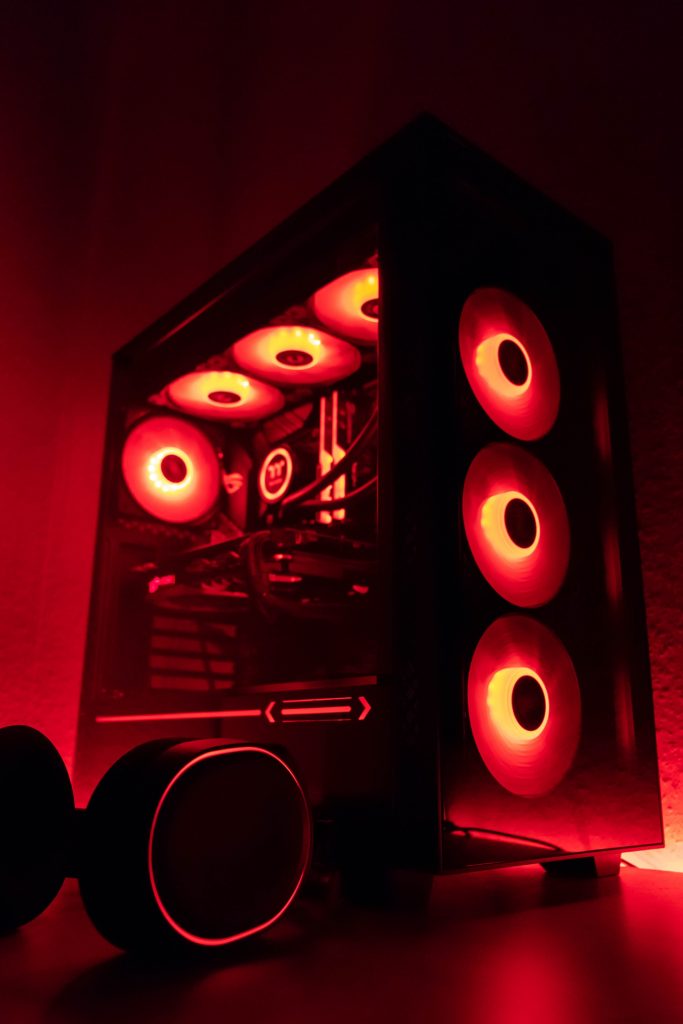
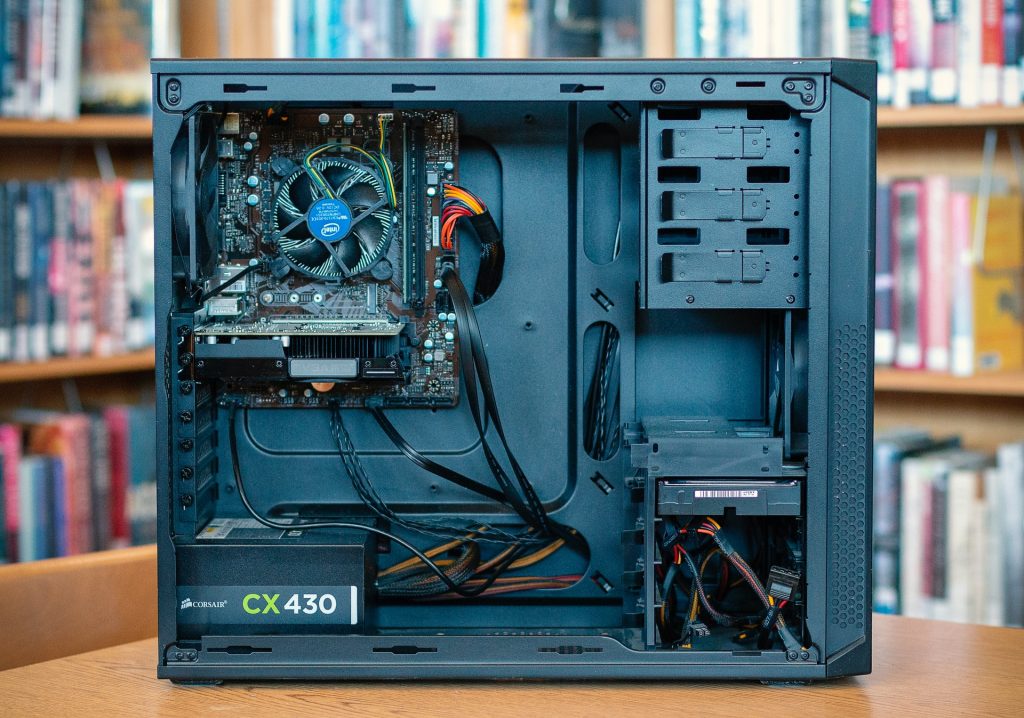
PC Case (Aesthetics)
In the end, PC Case is just a box. It might be covered in glass panels but still it’s just a case in which all the other components are placed to secure them with dust and water etc. PC Case also determines the aesthetics and design of the PC.
Now, time to assemble the PC. There are few tools needed to assemble/build a PC at home.
Power Supply Unit (PSU)
Power Supply is a unit that supplies power to the whole system. It keeps those little electrons running to each and every component.
The faster the PC, the more power it needs to run.
What are the tools needed to assemble the PC?
You must need some tools to assemble the PC of your choice despite your requirements and needs.
- Workstation
- Screwdriver
- Latex Gloves
- Antistatic Bracelet
- Thermal Paste
- Compressed Air
- Organization Buckets
Steps to Build a Gaming PC – Important
First, mentally prepare yourself that you are going to assemble a PC. Move into an ample room where you have a plenty of space to put all of your components and tools. Clean up your environment and work on a nonmetal surface.
Open up the boxes of components and you will find instruction manuals. Keep them, they are handy.
1. Installing CPU
Open the instruction manual of the CPU. Look around the motherboard and don’t get confused from too many chips on it. It’s like a puzzle game and you will have to put the right cable in the right place.
You will see little prongs on one side of the chip. In some other CPU’s, it might be some little golden contacts on one side. Do not touch them as it might damage the contacts.
Check your motherboard’s instruction manual to unlock your processor’s socket. There will be some bunch of holes that will look like big square with a button beside it. Find a corner of the CPU having little golden triangle. Inline it with the motherboard’s processor socket having the same symbol. Put your processor in it and make sure that it’s seated perfectly by looking at the instruction manual. Also, double check it.
Now you will see a square of silicon on the processor. You will have to apply thermal paste onto it. Your processor comes with the Heat Sink. Take thermal paste, not too much or too little. Remember your goal is to make a thin layer of thermal paste between a processor and heat sink. Therefore, take thermal paste accordingly.
Apply thermal paste onto the shining silicon of the processor and put the heat sink on top of it so that the silicone square of the processor and the copper circle on the heatsink lines up perfectly.
Gently press the heatsink and wait for it to dry. Thermal paste layer should remain at the center and in between the processor and the heatsink. Plug in your heat sink’s cooling fan near the processor socket by looking at the instruction manual.
Congratulations, you have just done the hardest part. It’s finished buddy.
2. Installing Motherboard
First see your motherboard’s instruction manual and put your motherboard into your case. Be sure that the screw holes in the case and on the motherboard, lines up.
3. Installing Power Supply
Now time to install power supply. You will find a big square spot that will fit your supply perfectly near the top or bottom of the case. After finding its spot, place Power Supply in and screw it. Do not plug anything right now.
4. Installing Memory
Now, see and find vertical sockets beside CPU and line up your sticks of RAM according to it and slot them in. Make sure to slot from the left side first. Seat them in and once seated your will hear a sound of the placement/click/tick as well. Some motherboards have the numbering on them too.
5. Installing Storage
There is a front-facing part of your case in which storage device either HDD or SSD has to be placed. It may differ from PC case to case. Place your drive into its place. Sometimes, it has to slide in the PC case. Screw it into place. If you haven’t found the place yet, see the instruction manual of motherboard.
6. Installing Graphics Card
See your motherboard’s instruction manual and look for the PCIe slot. Mostly, it’s a horizontal slot with a plastic latch beside it to clip/hold it. Line up the back side of your PC case with the back of your Graphics Card where HDMI is. Push in the GPU in the horizontal slot and it will be locked in easily. You will hear a sound of locking. If it doesn’t lock. Don’t force it. Try the other side. Screw it up and you are done placing.
Look into the cables coming out of the power supply. Look for the cables having rectangular or square shape that could fit into the rectangular or square socket on the side of your GPU. There are six to eight holes in rectangular or square socket.
Connect cables into the socket and you are done. If somehow, you are not able to do this, search on the internet by putting your manufacturer name and how to install it. You can search for: How to install “XYZ” GPU on “XYZ” Processor.
7. Setting Up the Ribbon Cables
There are tons of cables coming from the Power Supply. Open the instruction manual and connect the PSU to the SSD/HDD and the motherboard. Also, motherboard needs to be plugged into your case too. The rest of the cables depends on the hardware you purchased.
Don’t worry, each cable and pin configuration is on the instruction manual of the respective hardware.
8. Boot the PC & Install Operating System
You are done with the building of your PC. Now, just hit your power button. Insert your Operating System CD or bootable USB and install your Operating System. If PC didn’t boot up, don’t despair. It might be some faulty connections or faulty components causing PC to not boot up.
Check all the steps again and if somehow it doesn’t work then consider a google search or ask help from a technical friend who has computer background. Still having a problem, hire a technician. It won’t cost much.
YAYY……! You Build a Gaming PC.
Congratulations on building your first gaming PC. It’s a bit of a pain, but it’s a great way to spend an afternoon.
Facing RAM issue? Know about how to test your computer RAM for problems.


M Hamza Malik is a writer, blogger, and engineer who loves to create, write, and share his insights about computers, products, and technology. Hamza has spent the last years reading books, tech, and computers, which brings him to writing, giving his character a spark! Therefore, PCFIED is where he started his journey professionally.